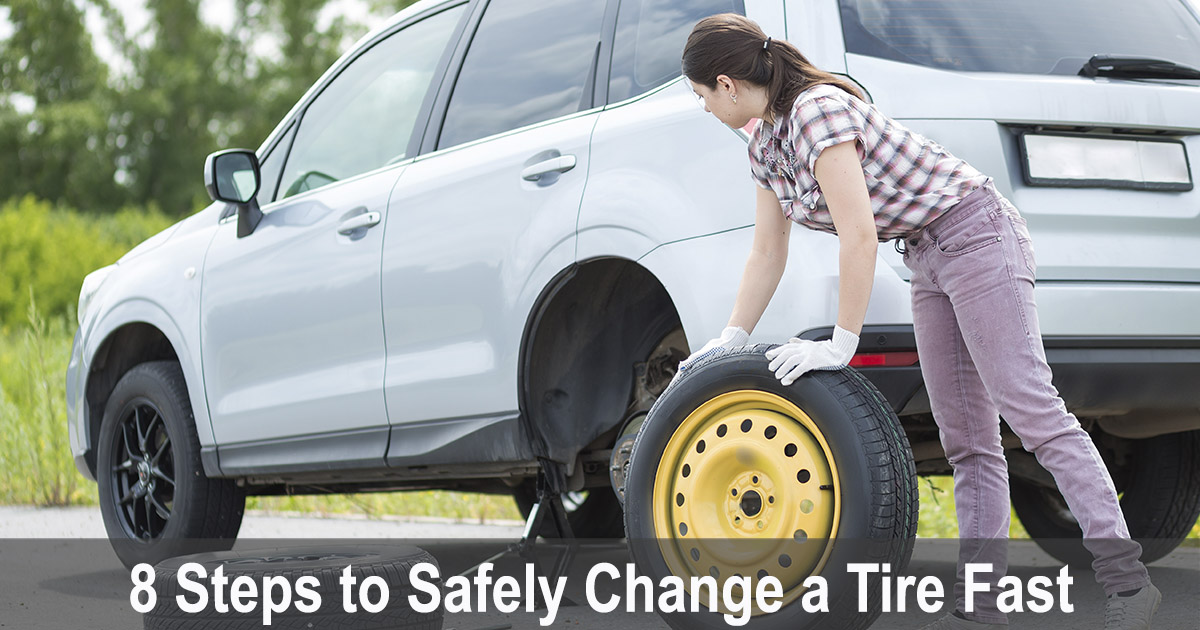
8 Steps to Safely Change a Tire Fast
The dreaded moment. Thump. Rumble rumble rumble.
Your tire blew out, and now you sit in the driver seat of your car clutching the steering wheel and asking yourself “What do I do now?”
The good news is that you prepared in advance; your spare tire is in good shape, you have everything you need to change the tire, and you know exactly what you have to do.
Right?
Unfortunately, life isn’t always that neat and tidy. However, when it comes to tires, you can always, with a little effort, be prepared for the worst. And, although you may have sworn off changing tires and have vowed to call road service, the reality is that may not always be possible. If you’re along a stretch of road where your cell phone has no service, or you forgot your phone at home, you’ll have to use your own tire-changing skills! So what can you do to get through this type of emergency situation?
The first step is preparation.
Step #1: Prepare ahead. Do you have every item that you need to change a flat tire? That involves more than just the spare tire, which should be in good shape and with sufficient air pressure. You will also need your owner’s manual, a car jack, lug wrench, blocks or wedges for wheels, and warning flares or triangles. Don’t forget a flashlight, towel and hand cleaner. Lastly, if you like to protect your hands, consider having a pair of gloves on hand.
Learn how to use your jack and lug wrench in advance – not when you’re under the pouring rain at 2 a.m. trying to figure out which way that handle should be turned. Also, you may need to figure out where your spare tire is. If you can’t find it, remember that, while some are in the trunk or tucked inside a rear panel, in larger vehicles the spare might even be under the vehicle. Your owner’s manual will give you a hint where to look.
Step #2: Get out of the way. When you feel that thumping of a flat tire, slow down and turn on your hazard lights or flashers. Next, choose a place to change the tire. You should look for a stable surface that’s not on an uphill or downhill grade. (You don’t want your vehicle to roll away from you, do you?) Try to avoid parking on dirt or grass, since these unstable areas could allow your car jack to sink into the ground.
Keep clear of traffic, where a distracted driver might not notice your car along the side of the road. Set up your warning flares or triangles so that other vehicles will use caution when passing you – this is especially important at night or when visibility is low.
Step #3: Get stable. Turn off your vehicle and apply the emergency brake. Make sure your vehicle won’t roll away while you’re changing the tire by putting a rock, brick or wheel chock against the wheels on the opposite side of your car from the flat tire.
Step #4: Assemble your work items. Fetch the spare tire from the trunk. Also take out the jack, lug wrench, screwdriver, and other essential items.
Step #5: Go nuts. Get those lug nuts on your tire loosened to be able to remove the tire. To do that, take a good look at your tire. Does it have a wheel cover or hubcap? If so, remove it by using a screwdriver to pry it off. Then use the lug wrench to loosen the nuts by turning each one counterclockwise. Remember, however, that you want those nuts loose but not actually off. So give them just under one turn each. Are they stuck in place? You may have to use your foot, leg, or whole body weight to get the lug wrench to move, and that’s just fine.
Step #6: Lift up your baby. Now it’s time to get your vehicle into the air. Place your jack at the best spot for lifting. Scratching your head and wondering where that is? The best location is different for different car models, but your owner’s manual should tell you where that "sweet spot" is. Pay attention to that detail, since lifting your vehicle in the wrong place could damage the car. Often the best space is underneath the frame, close to the flat tire.
Lift your vehicle up at least six inches, or enough to get the flat tire off, but also with enough to slip on the fully inflated spare. Don’t be in a rush to get it up; lift it slowly, turning the handle on the jack clockwise. Make sure that no parts of your body are under the vehicle (such as your feet) at this point and until you lower your vehicle again. Next you can fully remove the lug nuts and put them in a safe, clean place. You don’t want dirt to get in the threads, so placing them inside the wheel cover or hubcap works well.
Step #7: Remove the old. Remove the flat tire by pulling it straight towards you with both hands. Remember that a tire is heavy, so be prepared for the weight. Once it’s off you can roll it over to the rear of your vehicle where it won’t be in the way. Lay it down flat so it doesn’t roll away.
Step #8: Put on the replacement. Take your spare tire and lift it into place, carefully aligning the wheel studs with the holes on the tire. Then put on the lug nuts. Turn each lug nut clockwise, tightening them by hand as much as possible. Then lower your vehicle by turning the jack handle counterclockwise, and then remove the jack from under the car. This is when you can finish tightening the lug nuts with a lug wrench in a crisscross pattern. Don’t attempt to tighten the nuts when your car is in the air since the movement could make your vehicle slip off the jack. Replace the wheel cover or hubcap if it fits the spare. Remember to put all the items you used away in the trunk of your car.
One last tip – remember that your spare tire is probably not designed to be used at high speeds or long distances. Get your flat fixed as soon as possible. Also, to minimize the need to change your tires under emergency situations, remember to keep an eye on them. Keep them properly inflated, rotate them regularly, and monitor them for tread wear.
- 2025
- 2023
- 2022
- 2021
- 2020
- 2019
- 2018
- 2017