How to Change Your Brakes
How to Change Your Brakes
When you are rushing down the highway in a 4,000-pound vehicle, you don’t want to have doubts about the condition of your brakes. You simply want to know that when you put your foot on the brake your vehicle will slowly – or quickly, depending on your need – come to a stop.
In fact, maintaining your brakes is one of the most important maintenance tasks for your vehicle. It’s a step that protects you and your loved ones, which is why many people choose to personally change the brakes on their vehicles.
At first, changing your brakes can seem like a complicated procedure, but once you’ve done it a few times it can take as little as a couple of hours to finish the whole job. Knowing how to change your brakes is a way to avoid the high costs at auto repair places and keep your car in optimum shape.
The following steps pertain to disc brakes only. If you have drum brakes it is best to have a professional change your brakes.
Step #1: Get to know your brakes
While few people have seen car brakes "up close and personal," many of us are familiar with brakes on a bicycle. So let’s imagine how the brakes work on your bike: the pads, or brakes, squeeze together to put pressure on the wheel. That friction causes the wheel to slow down and eventually stop. Simple enough. The same concept applies to your car.
You can imagine how much those pads get worn down when they are stopping such a heavy object as your vehicle. As they wear down, they work less and less efficiently, until finally, they may no longer be able to stop your car safely as you’re hurtling down the highway.
Scary scenario, right? No doubt you'd prefer for your brakes to be working just fine as you head over to that off-ramp.
Also, as the brake pads wear down they expose the pad’s metal plate. If the brakes aren’t replaced when they wear down, the friction could actually damage the rotor surface and result in expensive repairs. So proper brake maintenance will save you time and money.
Step #2: Determine the need
How can you know when your brakes need changing? An obvious hint is when you can feel when your brakes are taking more time to bring you to a stop. Another warning sign is an indicator that emits a squeal when the brake pads need replacing. A persistent grinding sound is yet another way to know that you’ve worn out your brake pads.
You can also check on your brakes by means of a visual inspection. You may have heard that you can check the brake pads without even removing the wheel. However, in order to see the entire brake pad, it is better to remove the tire. Brake pads should be at least ¼ inch thick, any less than this and they need to be replaced.
Step #3: Gather your tools
When it's time to change your brakes, first gather all the items that you'll need to do the job. The list of tools needed to change brakes can seem overwhelming, but remember that you may already own many of them, and others are a one-time purchase that you can keep using long into the future.
Make sure you have your owner’s manual at hand. The manual is going to help you figure out where the master cylinder is, what kind of brake fluid to use, and the best spot to place the jack under your car.
- Socket wrench and sockets of various sizes
- Torque wrench
- Screwdrivers
- C-clamp or other specialty tool to compress caliper
- Car jack
- Jack stands
- Brake grease
- Wire brush
- Gloves
- Wheel chocks (blocks)
- Replacement brake pads (and possibly rotors)
- Hydraulic brake fluid
- Pry bar
- Brake cleaner
- Rags
- Liquid wrench (to remove "rust welded" components as needed)
- Hammer (usually 3lb)
- Thread lock
You can purchase replacement brake pads at your local auto parts store or online. At the store, they will be able to help you determine the right pads for your vehicle, which will depend on the make and model.
Step #4: Remove the tire
Obviously, to get at the brake pads you’re going to have to get the tire out of the way. But be careful! If you have just driven the car, some parts may be hot!
First, you should block the wheels using the wheel chocks. Then, apply the emergency brake and then loosen the lug nuts on the wheels, but don’t remove them. Then jack up the car. Once your car is up in the air, rest it on a jack stand to keep it elevated. Remove the lug nuts and remove the tire by pulling it towards you. For related details, see the National Highway Safety Administration article "8 Steps to Safely Change a Tire Fast."
When working on brakes, you should work on one wheel at a time. That way, if you’ve removed the brake and forget how to assemble it again, you have the intact side as a reference. It is also helpful to take pictures as each part is removed.
Step #5: Remove the caliper
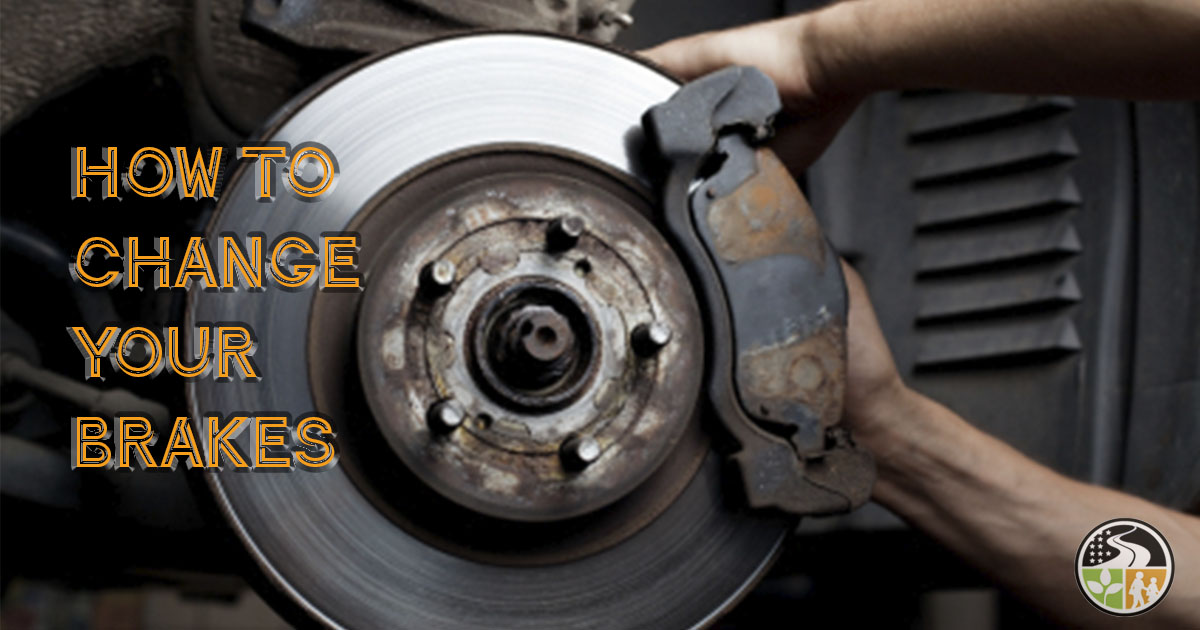
Now you’ll see the rotor and brake. You’ll need to remove the caliper assembly. Remember they may be hot! Use a socket or ratchet to remove the bolts at the back of the caliper assembly. Then slide the caliper assembly off the rotor. If it doesn’t come off easily, you may need to use a pry bar to coax it. Be careful with the brake line, which will still be attached. You should protect the brake line from snapping, so set the caliper on top of the rotor and secure it so it won’t slide off.
Step #6: Remove the old pads
Now you’ll be able to remove the brake pads from the rotor. Depending on your vehicle, you will carefully slide or pop them out. Keep an eye out for how the brake pads should be placed in the assembly so that you can insert the new pads correctly.
If you remove the rotor you should clean the surfaces. It is also good to mark where the rotor met the lug stud so that you can put the rotor back in the same place - this helps to prevent warping.
You may want to resurface the rotors. This can be done at an auto parts store that has a brake lathe. The shop will measure the rotors and let you know if they can be resurfaced or if they need to be replaced.
Step #7: Insert the new pads
Before installing pads use the c-clamp (or another tool specific to this job) to collapse the caliper piston. There may be more than one caliper piston, so you may need more than one c-clamp. To do this you want to open the brake bleeder and collapse the piston completely - you will see brake fluid coming out. Then close the bleeder quickly, while the brake fluid is still draining, to make sure that no air enters the system. Doing this will keep you from needing to bleed the brakes.
Install the new brake pads. You need to apply brake grease to the back of the pads to reduce squeaking. However, keep the front of the pads and the rotors free of grease – they need friction in order to slow your vehicle down. Now slide the new brake pads into place.
Replace all the brake hardware and lubricate with the brake grease.
Step #8: Replace the caliper assembly
Replace the caliper assembly, install the bolts, use the thread lock if needed, and then tighten the bolts. If the assembly no longer fits over your brake pads, you may need to adjust the piston to the larger width of the new pads. After the caliper is installed put the correct the brake fluid in the master cylinder and fill to the appropriate line.
Step #9: Replace your tire
After you’re sure the caliper assembly is securely in place, it’s time to replace your tire. Lift the tire into place and tighten the lug nuts. Then lower your vehicle using the jack. This is when you will tighten the lug nuts on the tire.
Repeat for each wheel.
Pump the brake pedal and then take your car for a spin to make sure that everything looks and sounds right. Your brakes should respond well and should not squeal or scrape beyond the first few miles.
- 2023
- 2022
- 2021
- 2020
- 2019
- 2018
- 2017